Wednesday, September 30, 2015

Green Tomato Salsa

What do you do with the green tomatoes just before the first frost??  Make green tomato salsa or fried green tomatoes.  Both are very yummy!  Every year we have a ton of green tomatoes right before the frost.  So we have made green tomato salsa and it is so yummy!  What a fun salsa and very different than the typical red salsa we are all used too.  My husband asked me what should we do with them and my first thought was fried green tomatoes.  And that is not a healthy option so we made this!  I made a double batch of this because I am feeding a few more people right now.  It is very easy to make.  And we enjoy it with just tortilla chips, in a salad, in burritos or any other Tex-Mex dish.


As you can see it is very green with the green tomatoes, cilantro, onion, and jalapeno.


I used fresh lime in this one which is very good but the bottled lime juice will work also.  Except for the cilantro (because it has already died) and lime everything came from the garden.


I like to chop up the cilantro very fine.  Remove the leaves from the stems because the stems can make it kind of bitter.


Mince up the green tomato, onion, garlic and jalapeno.  And juice the lime and mix it all together.  I used a 'as seen on tv' chopper because it makes all of the vegetables the same size and I like that.  Makes it very pretty too!


Green Tomato Salsa

4 medium green tomatoes, minced
1 small red or white onion, minced
1 small jalapeno, minced
2 garlic cloves, minced
1/4 c cilantro, chopped fine
2 TBS lime juice
1 tsp cumin
salt to taste

1. Mince the green tomatoes, onion, jalapeno, and garlic cloves and add to a bowl.
2. Remove the eilantro leaves from the stems and chop the cilantro very fine and add to the bowl.
3. Juice 1/2 of a lime or use bottled lime and add the lime juice, cumin and salt to taste.
4. Mix well and serve with chips or on a salad.
5. Enjoy!


Wednesday, September 16, 2015

Gazpacho the cold soup!

My husband is the Gazpacho lover!  He made it for me when we were first married.  What a fun soup!  Very odd but very good.  It was one of those that I did not know what to expect.  It is not your warm and inviting soup that one thinks of eating in the middle of fall and winter on a cold day.  This is a soup for a hot, summer day and it is very refreshing!  When you have an abundance of produce from the garden this is a great soup to make.  Or if it is getting to the end of the season and you need to pick your produce and do something with it then make this soup.  There seems to always be a lot of tomatoes in the garden and I always have a lot of herbs.  Even when we lived in the RV I had a little kitchen garden with lots of herbs and tomatoes.  Even my kids liked it a lot.  Another great thing I learned is it does not need much salt if any.  I just used some dried cayenne in mine, so it was like a spicy V8 with some chunks!


What the soup looks like.  Very red.  My husband said to use only a few chunky vegetables and it does make a difference.


Just the vegetables I used.  All from the garden.  And very colorful!  Heirloom tomatoes, yellow tomatoes, onions, cucumbers (I removed the seeds), red & orange peppers, garlic, basil, parsley. 


Blend up 8 tomatoes, 1/2 of the onion, 1-3 garlic cloves (garlic tends to make it spicy when used raw), and 1/2 c basil.


I like small pieces so I used our vegetable chopper, then they are all the same size and it cuts them perfectly small.  And I add that into the blended tomatoes and herbs.


I minced up the parsley.  It is nice to have it in small pieces also.


Then I added chopped yellow tomatoes for a fun color.


See some of the vegetables.  This is in the big bowl of soup.


Gazpacho Soup

8 tomatoes, blended
1 medium onion, 1/2 blended and 1/2 minced
1-3 garlic cloves, blended
1/2 c basil, blended
1 medium cucumber, remove seeds and minced
1/2 orange pepper, minced
1/2 red pepper, minced
5-7 little yellow tomatoes, minced
1/4 c parsley, minced
Salt &/or pepper to taste

1. Blend tomatoes, 1/2 onion, garlic cloves, basil together and pour into a bowl.
2. Chop/Mince cucumber, peppers, yellow tomatoes and 1/2 onion.
3. Mince parsley and add to the bowl.
4. Stir well and serve with crackers or crusty bread.


Tuesday, September 8, 2015

'Salad' The Main Dish!

When I started working as a Health Coach back in 2005 I didn't know how it would change my life and the lives of my family, my friends, and my clients.  I remember when I first started working as a Health Coach & teacher and it brought me so much joy!  It is a blessing when a job can bring one so much joy!  Working in the health field is definitely my calling and passion!  Then I was introduced to Dr. Joel Fuhrman and his book 'Eat to Live' when I started working full time for Christian Care Ministry.  Great book and great information!  It was a lot to take in at first because it was a lot of information.  But the information was great and we have incorporated it into our lifestyle.  My favorite health book is 'Super Immunity' by Dr. Fuhrman and I read that in 2011 when it came out and it really changed my life for the good.  It taught me a lot about the micronutrients vs. macronutrients which helps with combating and preventing viruses and diseases.

One of the biggest changes was making salad the main course.  Most meals are based around a meat/protein or a starch of some sort.  Try making salads the main dish and add fun things to it.  Salads can be a lot of fun and can be very nutritious.  They do not have to be boring but can be colorful and full of crunch!  Most of my clients said they would be so hungry but your body gets used to eating this way.


Salads can be so much fun to make and create!

A salad should start with a base like spinach, spring greens, kale, cabbage or any combination of cruciferous vegetables.  Then add favorite vegetables like onions, tomatoes, peppers, cucumbers, carrots, celery, zucchini, etc... Then add a healthy fat like sunflower seeds or pumpkin seeds.  I sprouted my sunflower seeds for several days ahead of time to release more nutrition.  And then a final fun to the salad... add beans!  I like hummus in my salad or my roasted red pepper spread.  I like the spreads because it is the dressing.  I have had a lot of clients who do not like salad and load on the salad dressing.  Most of the time salad dressings are high in fat, salt and unknown ingredients.  So the bean spreads are a good alternative and they are tasty and it is a complete meal.  If grains are desired a little bit of brown rice, wild rice, quinoa or barley are good in a salad too.  A small amount goes a long way. 


Soak 1 cup of raw sunflower seeds in 2-3 cups of water for 4-6 hours.


Allow to sprout for 2-3 days.  Rinse 2x a day.  Until they look like these.  Just a small sprout or a tail out of the end.


The vegetables I used for this salad.


I like head lettuce because it is crunchy.  Kale and cabbage are yummy too.


Chop up vegetables into your favorite shapes and sizes.  And mix all together.


Add about 1/4 cup of the sprouted sunflower seeds.  And a few dollops of hummus or other bean spread.


Simple Salad w/hummus & sunflower seeds

2-3 cups of salad greens
1 tomato, chopped
1/3 onion, sliced
1/2 cucumber, chopped
1/2 pepper (any color), chopped
3 mushrooms, sliced
4 green onions, diced
1/4 cup sprouted sunflower seeds
1/2 cup hummus

Mix together and enjoy!


Salad can be fun!  Be creative and eat healthy!


Monday, January 26, 2015

A Family Favorite, Veggie Pockets!

One of our favorite things to eat is veggie pockets!  Whether we are camping, sitting around a fire, or hanging out with family & friends it is a treat!  It is a one pocket meal and full of nutrients and variety for everyone.  The nice thing with veggie pockets is everyone can make their own and put whatever they want into it.  It will all cook up and taste delightful!


There are several ways this dish can be prepared.  One is in a campfire on some good, hot coals.  One is over a grill.  And the last is in the oven.  We have prepared it all of the ways but in this blog post I am going to show you in the oven.  In the oven can be prepared any day of the week and under any weather condition! And considering it is so healthy it is something that can be on a weekly menu and of course made so easily in the oven is a great option for any family!


Use whatever vegetables you like.  We like to use a rainbow of colors and besides the flavors from the vegetables mingle so well!  Here I have green pepper, yellow pepper, baby bella mushrooms, tomato, red onion, and zucchini.


Here I have red potato and corn.  I cut up the red potato really small so it will cook well inside the veggie pocket otherwise it is hard and the rest of the vegetables are mushy.


Here I have frozen green peas and frozen broccoli.  Fresh broccoli works just fine but I had frozen on hand.  Also any legume will work for this veggie pocket.  Like I said use whatever you like and mix and match colors.  Makes it more fun!


And we added vegetarian burgers for texture.  Homemade, leftover, frozen legume burgers work well or any burger you like.  Or if you are not into vegetarian burgers use a legume or bean of your choice. Any combination of your choosing will work.  


We serve it over rice and we like the Lundberg Wild Rice blend.  It has a great flavor and is a healthy option to add to the meal.  And it is gluten free for my gluten free friends!


The Wild Rice Blend is so pretty!  And so tasty and goes well with the vegetable combination of the veggie pocket!


Okay, now to prepare the veggie pocket.  Take a big piece of aluminum foil (for those who do not like aluminum foil use a piece of parchment paper inside the aluminum foil and spray the parchment paper but make sure to wrap the whole thing in aluminum foil) and spray it.  If  it is not sprayed it will stick very bad!


There's no special way to load up the veggie pocket.  One thing... I usually add the potatoes on the bottom so they will cook up evenly.


I sprinkle dried basil, dried oregano, and dried parsley over the vegetables.  And a little garlic salt or adobo seasoning.  And add about 1 TBS of water over top of the vegetables.  Then fold it over and fold the edges in tight.  


We write our names on it since we all like it a little different.  In the oven it does not have to be flipped over to cook it sufficiently.  In a campfire or on a grill it does need to be flipped at least one time. And it cooks in about 20 minutes.

Veggies Pockets (4 people)
4 medium red potatoes, diced
1/3 green pepper, diced
1/3 yellow or orange pepper, diced
1 tomato, diced
6 baby bella mushrooms, chopped
1/2 small red onion, sliced
1 small zucchini, sliced
4 vegetarian legume burger, chopped
1 cup corn
1 cup green peas
3 cups broccoli
1/4 teaspoon dried basil (per pocket)
1/4 teaspoon dried oregano (per pocket)
1/4 teaspoon dried parsley (per pocket)
1/8 - 1/4 teaspoon garlic salt or adobo seasoning (per pocket)
1-2 TBS water (per pocket)

1. Take one large piece of aluminum foil and spray with oil.
2. Arrange vegetables on one side of the aluminum foil (so it can be folded in half) and fold in half and seal the three sides.
3. Put all veggie pockets in the preheated oven (400 degrees) and bake for 20-25 minutes.
4. Serve veggie pocket over rice.
5. It is good with soy sauce, Bragg's amino acids and hot sauce.

Enjoy!


Monday, January 12, 2015

Dreary Day Baking... Apple Muffins!

Apple Muffins


On dreary days I like my house to smell like soups and breads and the benefit is the warmth of the oven warming my house and yummy food for my family to eat!  I love to cook & bake and winter time it is so much easier because it is chilly outside and makes it feel so warm and cozy inside!  One of my family's (and friends) favorite recipe is my apple muffin recipe.  It is an easy recipe and it is great for fall and winter when the apples are in season.  I like cooking and baking in season because it makes the season more enjoyable and of course it is more sustainable.


So first of all check out my table cloth... Yep it is still my Christmas one!  I guess I better put that one away and get out my snowman table cloth!  On a side note, my kids & I keep up our snowmen and one strand of Christmas lights.  Since my birthday is in late February I like keeping up my favorite thing which is snowmen!  Anyway, these apple muffins are a great treat!  Lukas & Elsie eat them like dessert and they do not last more than a day... maybe 2!


I prefer making mini muffins because when you cook without oil, eggs and white flour they tend to be gummy in the middle when they are bigger muffins.  But I do make the regular size muffins I just bake them longer. And my kids think bite size muffins are a staple in our home!


All the ingredients.  I use homemade applesauce so there is no added sugar.  And if you have a problem with cinnamon just use 1/2 cardamon & 1/2 coriander as a substitute.  And I use dark brown sugar because I like the flavor better.


You can shred the apple any way you like.  I use my twister jar from my Blendtec and I pulse shred it.  A cheese grater would work or a food processor.  I usually leave the skin of the apples on because it adds fiber.


Apples all mushy and shredded.  I did it in 2 batches so I did not over load my jar.


I like to mix all the wet ingredients together first and then I add the dry ingredients one at a time.  But you can also add all the dry ingredients together and add the wet ingredients one at a time.  It does not matter since you are not baking with eggs.


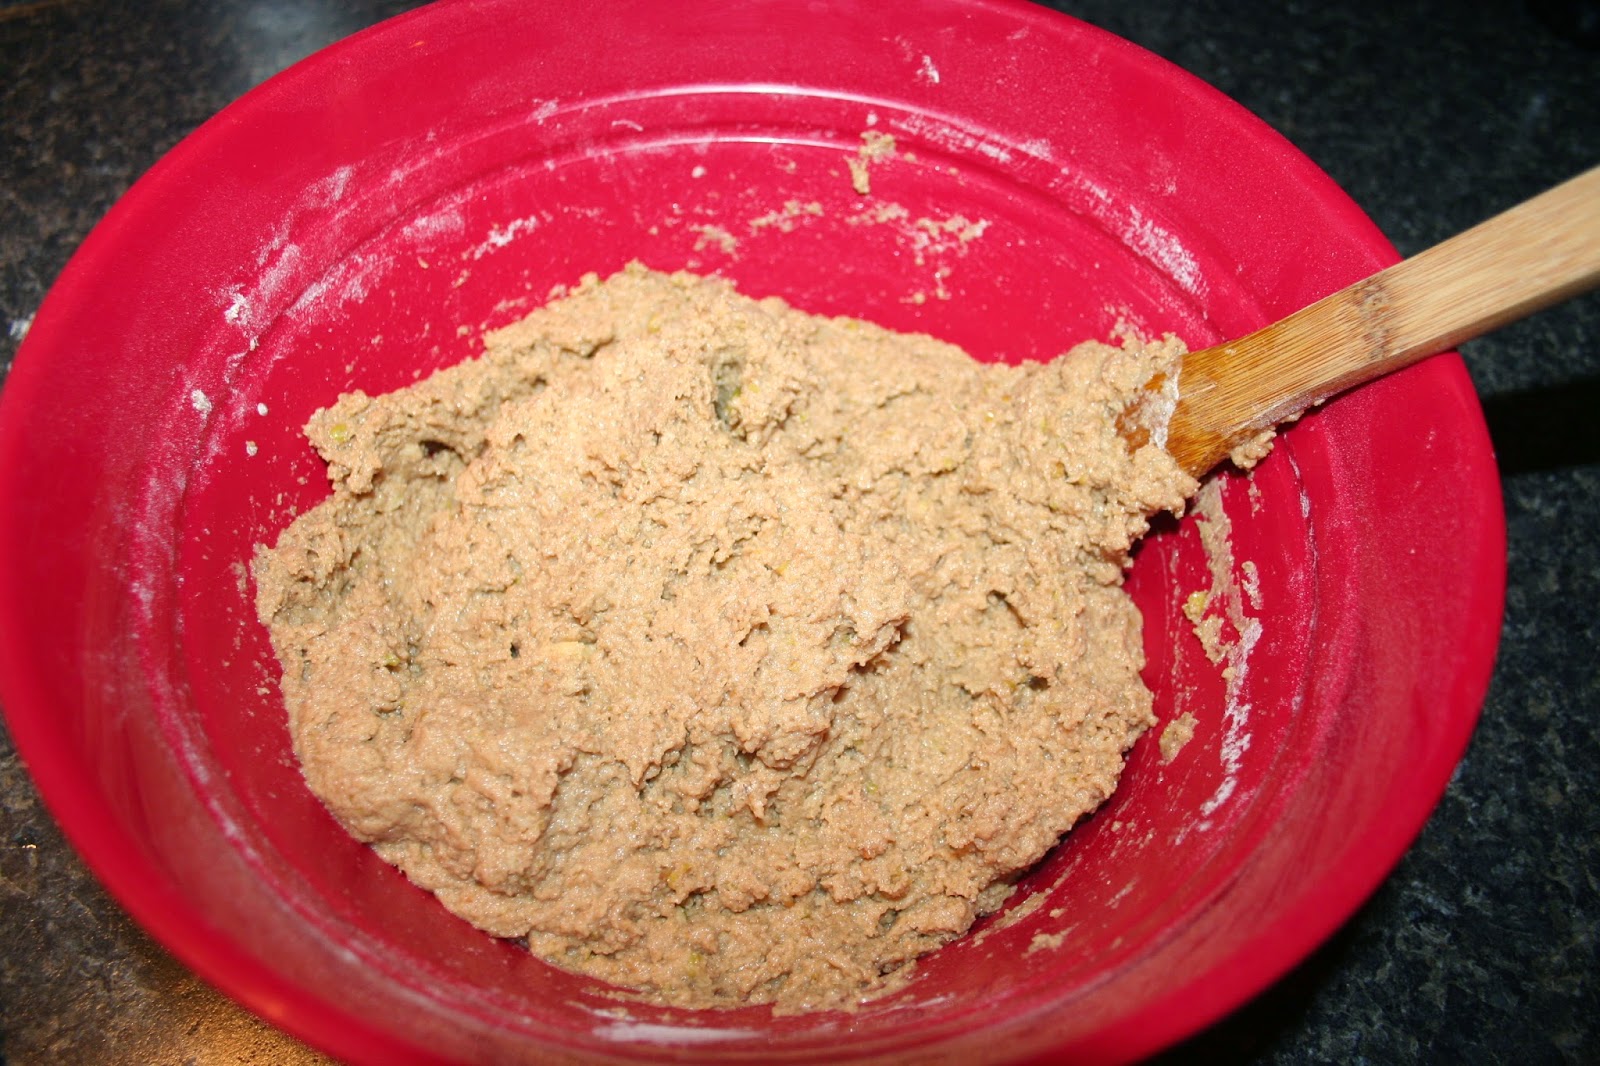
All mixed up and ready!


24 mini muffins.  I will share a nice trick for anyone who is OCD... I use a 2 TBS ice cream scooper so the muffins are relatively the same size and it is less mess.  And then my kids can help too.


And this scooper is a 1/2 cup one.  It just makes the muffin making much faster and it is easier.  I love being in the kitchen but I like to be efficient too.  I like to eat so the quicker the better!

Apple Muffins

2 flax eggs (2 TBS ground flax seed + 6 TBS water)
¾ c applesauce
1 tsp vanilla
2 c shredded apples w/juice
1 tsp baking soda
½ tsp baking powder
¼ tsp salt
1 TBS cinnamon (or 1 ½ tsp coriander + 1 ½ tsp cardamom)
¼ c dark brown sugar or ¼ c maple syrup or honey
3 c whole wheat flour (fresh ground)

Instructions
  1. Mix wet ingredients together in a large bowl.
  2. Mix dry ingredients one by one into the wet ingredients and mix well.
  3. Bake in a preheated oven for 20-25 minutes.
  4. Makes 48 mini muffins or 18-24 muffins.

E


Ready to devour!


My big boy helper!


My big girl helper!  Another good reason for the little ice cream scooper so the kids can help.  :)  It's a win, win for Mama!


Enjoy warming up your house and your tummy!

Thursday, January 8, 2015

Wholly Legume Lentil Stew

When it is so cold outside I seriously just want to cook, bake and drink herbal tea!  It makes me very happy to be eating warm food and warming the house with the heat of the oven too!  Fall and winter is such an easy time to eat healthy and enjoy hearty soups and stews.  Here is a fun recipe for the family to enjoy!  We love lentils in many different ways.  I have made sprouted lentil stir fry, curried lentils, lentils & rice, lentil soup lentil tacos and lentil loaf.  Take your pick lentils can be made just about anyway you wish.  Lentils do not have to be soaked like other beans or legumes but I have found that if I soak them in water for 8-24 hours and then allow them to sprout for 1-3 days I am much happier with the results.  I had several clients who were bothered by lentils and when they soaked and sprouted the lentils for at least one day it did not bother their digestive system anymore.


For a hearty stew the best thing is to do is include a lot of vegetables.  And the green ones are good too!


I love adding sweet potatoes to our soups and stews these days.  It adds a nice texture and flavor that cannot be beat!


Some soups I like to chop them up fine but this recipe I decided to make the pieces big.  Sauteed the vegetables for 10 minutes with a 1/2 cup of water on medium low.


Elsie loves to help in the kitchen.  And we have an awesome vegetable chopper that makes the job much quicker.  And it cuts all the pieces evenly.  And that is wonderful for someone that is OCD like me!


Beautiful big chunks of sweet potatoes.  I sauteed the sweet potatoes with the other vegetables.  Helps it cook up faster when sauteed and it brings out the flavors.


Take two cups of dry green or brown lentils and soak for 8-24 hours.  I use a 1/2 gallon Ball canning jar with a fancy sprouting lid I ordered off Amazon.  I like the plastic sprouting lids because the holes are really small and I do not have problems with any of my tiny seeds coming out.  And the sprouting lid is easier to clean.  It goes from 2 cups of dry lentils to 5 1/2 cups of soaked and sprouted lentils.  And much easier to digest!


The spices... Homemade tomato sauce, homemade chik-like seasoning and I buy herbs in bulk because it is cheaper and I use a lot of herbs!


My sweet little helper!


What soaked and sprouted lentils look like.  To some they look funny.  They do not need to be sprouted this long.  As long as the lentil breaks open a little it is enough to help with digestion.


I sauteed the vegetables for 10 minutes before adding the water or lentils.  I like the sauteed the lentils for 3-5 minutes before adding the water.


Add the greens on top so they can simmer while the lentils and vegetables are cooking.


All Done!  It looks and smells so yummy!


Wholly Legume Lentil Stew

1 medium onion, chopped
3 carrots, chopped
2 celery stalks, chopped
1 medium sweet potato, chopped
3 garlic cloves, minced
1/2 - 1 cup water (for sauteing)
2 cups brown or green lentils (soaked 8-24 hours and sprouted for 1-2 days)
1 TBS basil
1 TBS parsley
3 TBS chik-like seasoning (I make my own so it is very low sodium)
1/2 tsp salt (add to desired taste)
2 cups tomato sauce or tomatoes or 1/2 & 1/2 (canned no salt)
4-5 cups of water 
4 cups greens, chopped (kale, collard, turnips)

1. Cook vegetables and 1/2 - 1 cup of water over medium low heat for 10 minutes.
2. Add lentils and saute for 3-5 minutes.
3. Add seasonings and all other ingredients leaving the greens on the top and simmer for 15-20 minutes or until lentils are tender.
4. Stir and enjoy with corn muffins or bread or crackers. We like it with a little hot sauce!